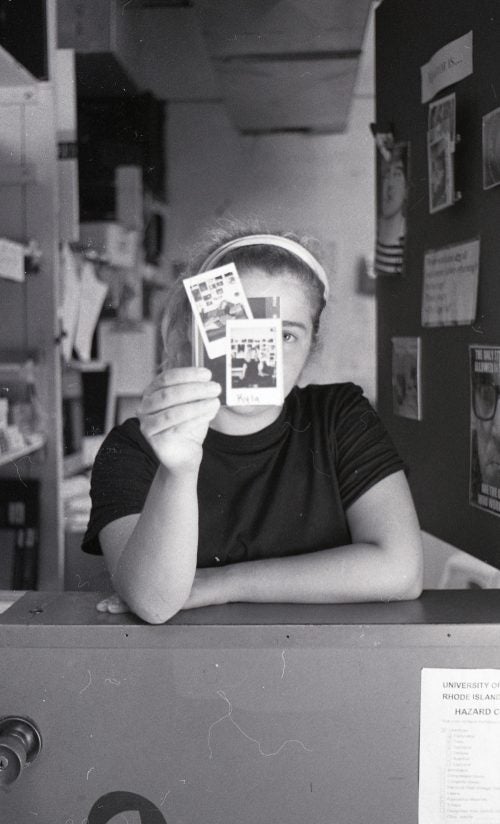
Kyla Duffy ’18 shares her ideas about film photography in a digital world. Her film photos illustrate the process of developing film in the Cage, where, as a student worker, she helped other students discover the magic of film.
The digital age has brought a new wave of photography. Today, nearly everyone has access to a camera, and photographs can be taken, reviewed, and shared in a matter of seconds. The idea of taking a photo without the ability to review it instantaneously becomes more foreign as technology advances. Even those who remember the days of 35mm cameras and enlargers often see the process as an outdated memory. In an age when everyone sees themselves as photographers, film photography might seem an art form of the past, slowly dying as newer, faster technology takes its place. But at the photo lab in URI’s Fine Arts Center, known affectionately as the Cage, the art of film photography is very much alive. For those looking to explore this artistic process, the Cage is equipped with tools for developing and printing black-and-white film, providing students with a portal to the past.

1. After shooting a roll of film, the first step in developing it is removing the film from the roll and placing it in the developing tank without exposing it to any light. Changing bags like these act as portable darkrooms so your film can be moved without exposure.
2. Once the film is loaded into the developing tank, it must go through a multistage process of exposure to different chemicals and water rinses.
3. After the film is developed and dried, you can catch the first glimpse of your photos in negative form! The artist can view negatives on the light table, and select photos for printing.
4. Now it’s time for the darkroom! Once you select a negative, you place it in the enlarger, which enlarges the negative and uses light to expose the image onto light-sensitive paper.
5. After the paper is exposed to light for the proper amount of time, you move it into the developer. This is where you see your photo in its positive form for the first time!
6. Like the film, the paper must be processed through various chemicals before it can be exposed to light. First, a stop bath keeps it from developing further; then it is moved into the fixer, and then to a final wash. Now you have your very own print!
7. This is a print I created in the URI photo lab. It is a double exposure, created by sandwiching two negatives together before placing them in the enlarger. Two images overlap to create a unique new image.
As a former student and a Cage employee, I fell in love with the art of film photography. When I took my first darkroom class, I didn’t think I would be able to capture the beauty I sought in my images under the limitations of black-and-white. But as I continued, my appreciation for black-and-white photography blossomed. I began to discover that color was not necessarily the most important factor in creating a remarkable image. Instead, I began exploring contrast, discovering that I could find inspiration in something as simple as the deep richness of a shadow or the subtle glint of a highlight. Working in film has also pushed me to put more thought into every shot I take. Since the average roll of film allows you to capture only 36 photos, every shot is valuable. Without the ability to immediately review my images, I quickly learned the importance of contemplating the composition of a photo before taking the shot. The constraints of film photography forced me to improve my skills as an artist.
While digital photography continues to grow and evolve, the art of film photography should not be forgotten. Even as technology advances, there will always be something magical about standing under the glow of those amber lights and watching a blank piece of paper slowly turn into your very own work of art. And at the URI photo lab, the darkroom will continue to hold magic for those who seek it. •